
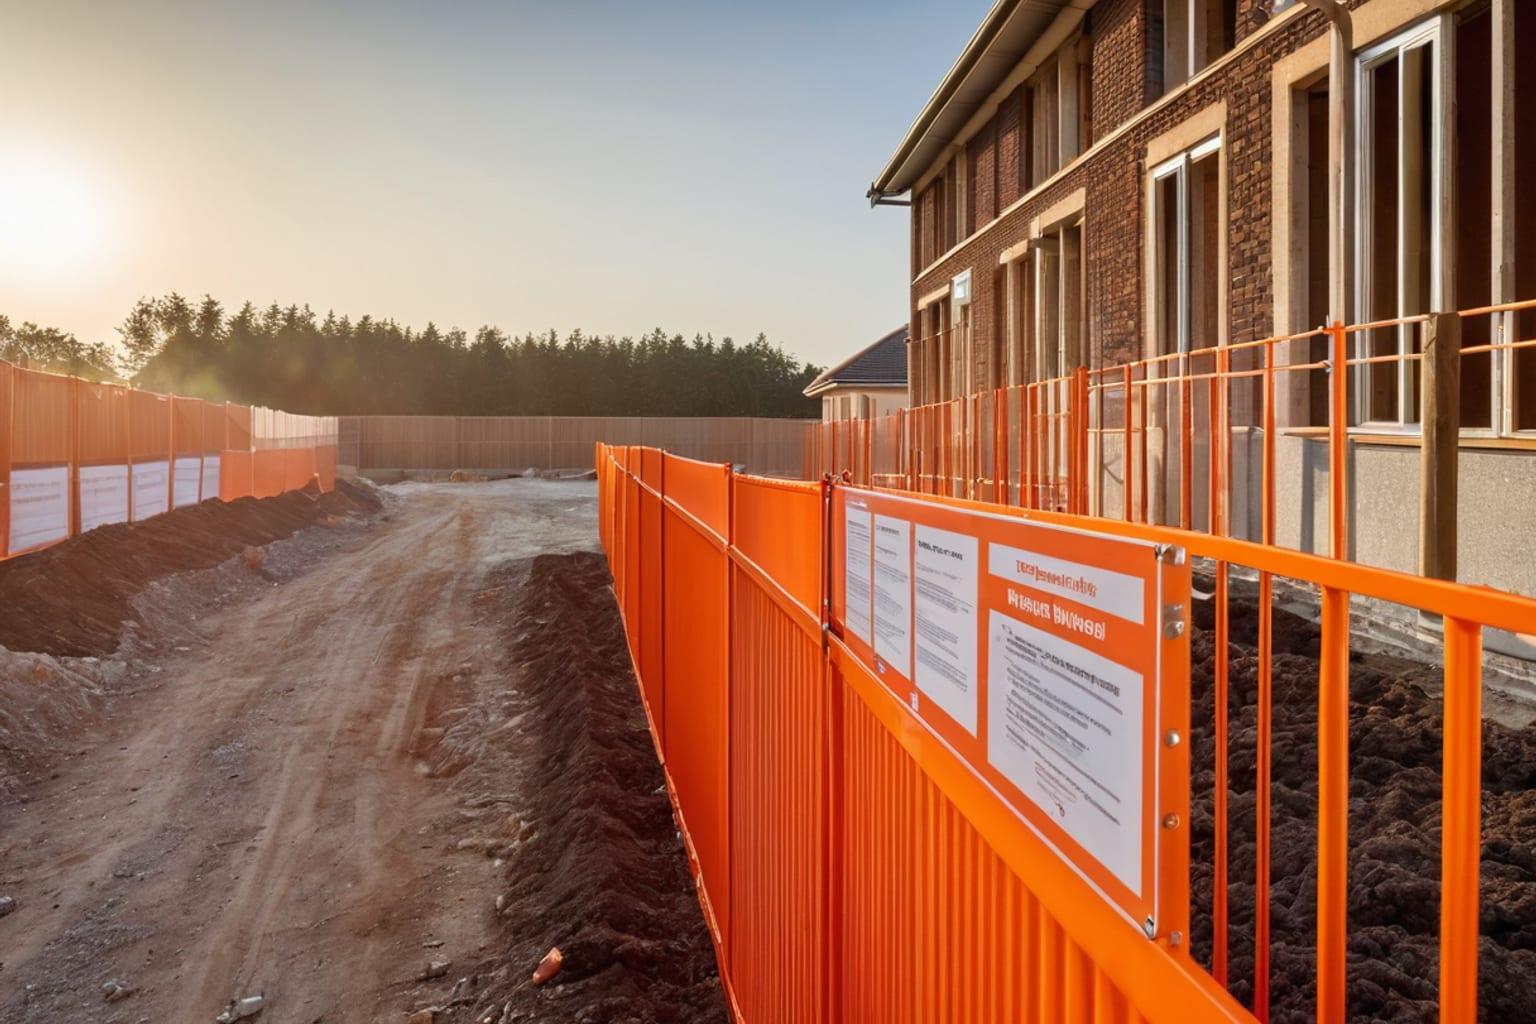
Building permits are the gatekeepers between "I want to build a house" and "I'm legally allowed to build a house." Understanding how to navigate the permit process saves frustration, prevents costly delays, and keeps your project compliant with local codes. Yet many owner-builders treat permits as an afterthought—a bureaucratic hurdle to clear quickly—rather than a crucial part of planning.
This guide walks you through the actual building permit process, what happens at each stage, and how to move through it efficiently.
01Why Building Permits Exist
Before diving into the process, it's worth understanding why permits matter beyond regulatory compliance.
Building permits serve three purposes:
-
Public safety: Permits ensure your home meets current building codes for structural integrity, electrical safety, plumbing safety, and fire safety. A home built without these standards could be dangerous to occupants.
-
Property value protection: Non-permitted construction becomes a title issue. When you try to sell an unpermitted home, buyers' lenders often refuse to finance it. An unpermitted addition that cost $50,000 to build can reduce your home's value by $75,000 at sale time because financing becomes impossible.
-
Insurance coverage: Homeowner's insurance typically excludes unpermitted construction. If a fire or damage occurs in an unpermitted addition, your claim gets denied.
This isn't bureaucratic obstruction—it's infrastructure that protects your investment and keeps communities safe.
02The Permit Process Overview
Building permit processes vary by jurisdiction, but most follow a similar sequence:
- Submit application with drawings
- Initial review (plan check)
- Corrections if needed
- Approval
- Inspections during construction
- Final approval
Timeline: 2-8 weeks for approval (after submissions), plus inspection time during construction.
Let's walk through each stage.
03Step 1: Determine Your Local Permitting Authority
First, identify who actually issues permits in your area. This is typically:
- City building department (if you're building within city limits)
- County building department (if you're building in unincorporated county)
- Special districts (some rural areas have building districts separate from city/county)
To find the right agency:
- Look up your property address online at your city/county assessor's website
- Note the jurisdiction it shows
- Search "[City/County] building permits" for the official department
- Most have websites with permit application instructions
Save the building department's phone number and email—you'll need it multiple times.
04Step 2: Verify Code Requirements for Your Area
Building codes vary by location. Your house plan must comply with the codes in effect where you're building.
Find your local codes:
- Ask the building department which model code they adopt (International Building Code, International Residential Code, etc.) and what year
- Common: 2021 or 2024 International Residential Code (IRC)
- Some areas adopt state-specific codes or older versions
Common code areas that affect house plans:
- Minimum ceiling heights (typically 7-8 feet in main living areas)
- Bedroom size minimums (typically 70 square feet)
- Egress (emergency exits) requirements
- Roof snow loads (varies dramatically by location)
- Wind speed ratings (varies by location)
- Seismic/earthquake requirements (western states)
- Flood zone requirements (coastal areas, flood plains)
- Energy code requirements (insulation minimums, window performance)
A house plan designed for flat terrain without snow loads (Florida) won't comply with codes in heavy-snow regions (Colorado). Conversely, over-building for snow/wind requirements in mild climates wastes money.
House & Timber Plan Co. plans are designed to meet multiple code jurisdictions, but confirm your specific plan complies with your area's requirements before submitting for permit. Better to catch this during planning than during plan review.
05Step 3: Prepare Your Construction Documents
This is the most important step. The building department will scrutinize your submitted documents. Incomplete or unclear plans lead to rejections and delays.
What you need to submit:
Site Plan
- Your lot with property lines clearly marked
- House footprint and setbacks from property lines
- Driveway location
- Utility connections (water, sewer, electric)
- Scale: typically 1/8" = 1' or 1/16" = 1'
- North arrow indicating orientation
- Slope/drainage information if your lot has significant elevation changes
The site plan shows the building department that your house fits on your lot according to local setback requirements. Most jurisdictions require:
- Front setback: 20-40 feet (varies widely)
- Side setbacks: 5-15 feet (often less on one side)
- Rear setback: 10-25 feet
Floor Plans
- All floor levels clearly labeled
- Room names and dimensions
- Door and window locations
- Stair locations
- Bathroom and kitchen fixture locations
- Electrical outlet locations (depending on local requirements)
- Roof/attic access points
- Scale: typically 1/4" = 1'
Elevations (Four Sides)
- Front, rear, left, and right exterior views
- Roofline heights
- Foundation height/basement depth if applicable
- Exterior material identification (siding type, roofing material)
- Window and door styles
- Entry details
Elevations show the building department that your design complies with aesthetic codes (if your area has them) and that windows/doors are positioned correctly for safety.
Roof Framing Plan
- Roof slope/pitch
- Rafter direction
- Beam/truss locations
- Any roof penetrations (skylights, vents, chimneys)
Foundation Plan
- Foundation type (concrete slab, crawlspace, basement)
- Footing depths and widths
- Drainage details
- Sump pump locations if applicable
Electrical Plan
- Panel location
- Main service size (typically 100, 150, or 200 amps)
- Outlet and switch locations
- Light fixture locations
- Some jurisdictions require detailed circuit layouts
Plumbing Plan
- Water supply line routing
- Drain/waste/vent (DWV) line routing
- Water heater location
- Meter location if applicable
HVAC/Mechanical Plan
- Furnace/heat pump location
- Ductwork routing
- Thermostat location
- Ventilation requirements
Document specifications:
- All plans on letter size (8.5 x 11") or larger paper (11 x 17" typical)
- Clear, dark lines (pencil fades; use ink)
- Legible dimensions and notes
- Scale marked on each plan
- North arrow on site and floor plans
- Title block with project name, address, date, architect/designer name
Many builders use "construction documents" from their house plan provider, which include all these elements. Confirm your plan set includes everything your local building department requires.
For help understanding plans, see how to read a floor plan.
06Step 4: Gather Personal Documentation
Beyond construction documents, you'll need:
- Completed permit application form (provided by building department)
- Proof of property ownership (deed or title policy)
- Proof of design professional stamping (if required—varies by jurisdiction)
- Lot survey (sometimes required, depends on local code)
- Environmental assessment (if building in special zones like wetlands)
- Covenant/deed restriction verification (confirm no restrictions prohibit your design)
- Proof of licensed contractor (if applicable; some jurisdictions require licensed builder)
About professional stamping: Many jurisdictions require house plans to be stamped by a licensed architect or engineer. This is a legal certification that the plans comply with applicable codes. If your plan isn't professionally stamped and your jurisdiction requires it, you have three options:
- Have a local architect or engineer review and stamp the plans ($500-1,500)
- Hire a designer or architect to modify the plan and provide stamped documents ($1,500-3,000)
- Work with your builder to obtain professional stamping (often included in builder contracts)
Professional stamping is increasingly required and is actually valuable—it protects you by confirming the plans comply with code.
07Step 5: Submit Your Application
Submission method and timing:
- Most building departments now accept online submissions
- Some still require in-person submission
- Check your department's website for preferred method
What to expect:
- Submission fee (typically $500-2,000 depending on project size)
- Receipt/application number issued
- Timeline for initial review: 2-4 weeks typical (varies widely)
Common submission mistakes to avoid:
- Incomplete plan sets (missing elevations or details)
- Illegible or unclear drawings
- Dimensions missing or contradictory
- Plans stamped by professionals not licensed in your state
- Multiple different revisions of same plan submitted
- Inadequate site plan detail
Submit complete, professional sets the first time. Resubmission due to missing information doubles your timeline.
08Step 6: Plan Review and Corrections
The building department's plan checker reviews your submitted plans for code compliance.
What they're checking:
- Setbacks and lot coverage
- Room sizes and egress
- Structural adequacy
- Electrical safety and capacity
- Plumbing system adequacy
- HVAC system sizing
- Energy code compliance
- Fire safety and separation
- Accessibility (if applicable)
Most common rejection reasons:
- Setbacks: House positioned too close to property line
- Ceiling height: Room heights below code minimums
- Egress: Bedrooms lacking adequate emergency exits
- Structural: Inadequate engineering for local conditions
- Energy code: Insufficient insulation or window performance
- Lot coverage: Building footprint exceeds allowed percentage
- Plumbing/Electrical: System inadequacy or safety issues
When corrections are needed:
The building department issues comments (sometimes called "Plan Review Comments" or "Requests for Information"). You'll receive a list of items to correct, modify, or clarify.
This is normal. Even high-quality plans rarely pass without any comments.
Response procedure:
- Review each comment carefully
- Modify plans to address concerns
- Resubmit with marked revisions (use red pen or highlighting to show changes)
- Include a written response to each comment explaining the fix
- Resubmission fee is usually reduced or waived (typically $100-300)
Timeline for corrections: 1-2 weeks to resubmit, 1-2 weeks for re-review.
09Step 7: Conditional Approval and Permit Issuance
Once the building department approves your plans, you receive:
- Building permit (the actual legal document authorizing construction)
- Approved plan set (stamped "Approved for Construction")
- List of required inspections
- Permit conditions (special requirements specific to your project)
Typical inspection requirements:
- Foundation inspection (before concrete pour or before framing on slab)
- Framing inspection (before insulation/drywall)
- Mechanical inspection (HVAC, plumbing rough-in)
- Electrical inspection (wiring before drywall)
- Insulation inspection (before drywall)
- Final inspection (when construction complete)
Some jurisdictions combine inspections; others require five or more separate inspections.
10Step 8: Inspections During Construction
Once construction begins, the building department conducts inspections at key milestones.
Scheduling inspections:
- You typically call the building department when the construction phase is ready for inspection
- Inspectors visit within 1-3 business days
- They examine work against approved plans and building code
- If acceptable, they approve that phase
- If not, they note deficiencies that must be corrected
Common inspection issues:
- Electrical wiring not run in conduit where required
- Plumbing vents not properly sized
- Framing inadequate for local wind/snow loads
- Insulation value doesn't match approved plans
- Windows/doors installed incorrectly
- HVAC ductwork not properly sealed
Most minor issues are corrected quickly. Serious deficiencies can halt construction until fixed.
Final Inspection
When construction is complete, the final inspection certifies the home complies with permitted plans and building code. Once passed, you receive:
- Certificate of Occupancy (or similar document)
- Permission to occupy the home
- Release of building bond (if one was required)
11Permit Costs and Timeline
Typical permit fees:
- Building permit: $500-2,000 (based on estimated construction value)
- Electrical permit: $100-300
- Plumbing permit: $100-300
- Mechanical permit: $100-300
- Engineering review (if required): $200-500
- Total: $1,000-3,500 typical
Some jurisdictions base fees on construction value. A $300,000 home might cost $1,500 in permit fees. A $500,000 home might cost $3,000.
Total timeline:
- Initial submittal preparation: 1-2 weeks
- Plan review and approval: 4-8 weeks
- Corrections (if needed): 1-4 weeks
- Construction with inspections: 3-6 months typical
Total from application to occupancy: 6-12 months typical (varies significantly by jurisdiction and construction speed).
12Avoiding Permit Problems
Before you build:
- Confirm your plan complies with local codes before submitting
- Verify setbacks work with your lot
- Confirm lot size is adequate for your plan
- Review any HOA or deed restrictions
- Contact building department with questions before submitting
During permit review:
- Respond promptly to plan review comments
- Resubmit corrections within 2 weeks (longer delays extend overall timeline)
- Ask clarifying questions if comments aren't clear
- Don't make unapproved changes during construction
During construction:
- Schedule inspections before you proceed to the next phase
- Correct any inspection deficiencies immediately
- Take photos documenting that corrective work was done
- Keep permit on-site for inspector access
- Follow approved plans—don't improvise
13Working with Your Builder
If you're hiring a builder to construct your home:
- Confirm they understand the permit requirements
- Ensure they have their own contracting license (most jurisdictions require this)
- Discuss who handles which permits (some builders include permits; others pass cost to owner)
- Verify they've built in this jurisdiction before (experience matters)
For guidance on working with builders, see how to work with a builder using stock house plans.
14Special Permit Situations
Owner-builder permits:
Many jurisdictions allow owners to pull permits for their own home if they're the owner and primary occupant. However, you typically can't hire subcontractors without a contractor's license. This limits owner-builder options to cases where you're doing substantial work yourself.
Variance requests:
If your lot or design doesn't meet standard code requirements, you can request a variance (formal exception). Common reasons:
- Lot is too small (doesn't meet minimum lot size)
- House is positioned closer to property line than setback allows
- Design requires ceiling heights below code minimum
Variances require additional approval process (often a public hearing) and aren't guaranteed approval.
Floodplain/special zone permits:
If building in flood-prone area, wetlands, or other special zones, additional permits or requirements apply. Common additions:
- Elevation certificate (if floodplain)
- Environmental review
- Mitigation requirements
- Additional insurance requirements
15The Bottom Line
Getting a building permit isn't quick or free, but it's essential. The permit process protects your investment, ensures your home is safe and code-compliant, and prevents catastrophic issues when you eventually sell.
The fastest way through the permit process is thorough preparation: complete, professional construction documents, submitted the first time without errors. Plan for 6-8 weeks from application to approval (less if no corrections needed, more if significant changes required).
Don't treat permits as an obstacle—treat them as a roadmap to building a compliant, valuable home that you'll be able to finance, insure, and eventually sell without complications.
Need help understanding construction documents and what they contain? See what are construction documents.
Browse our collection of house plans that include detailed construction documents to take to your builder and local building department.